New Template: Nutritionist
With so many people thinking about health these days, it's no surprise that health and wellness industries are booming these days. This template is designed for anyone who specializes in health, diet, or nutrition, from alternative nutritionists and health professionals to personal trainers and more.
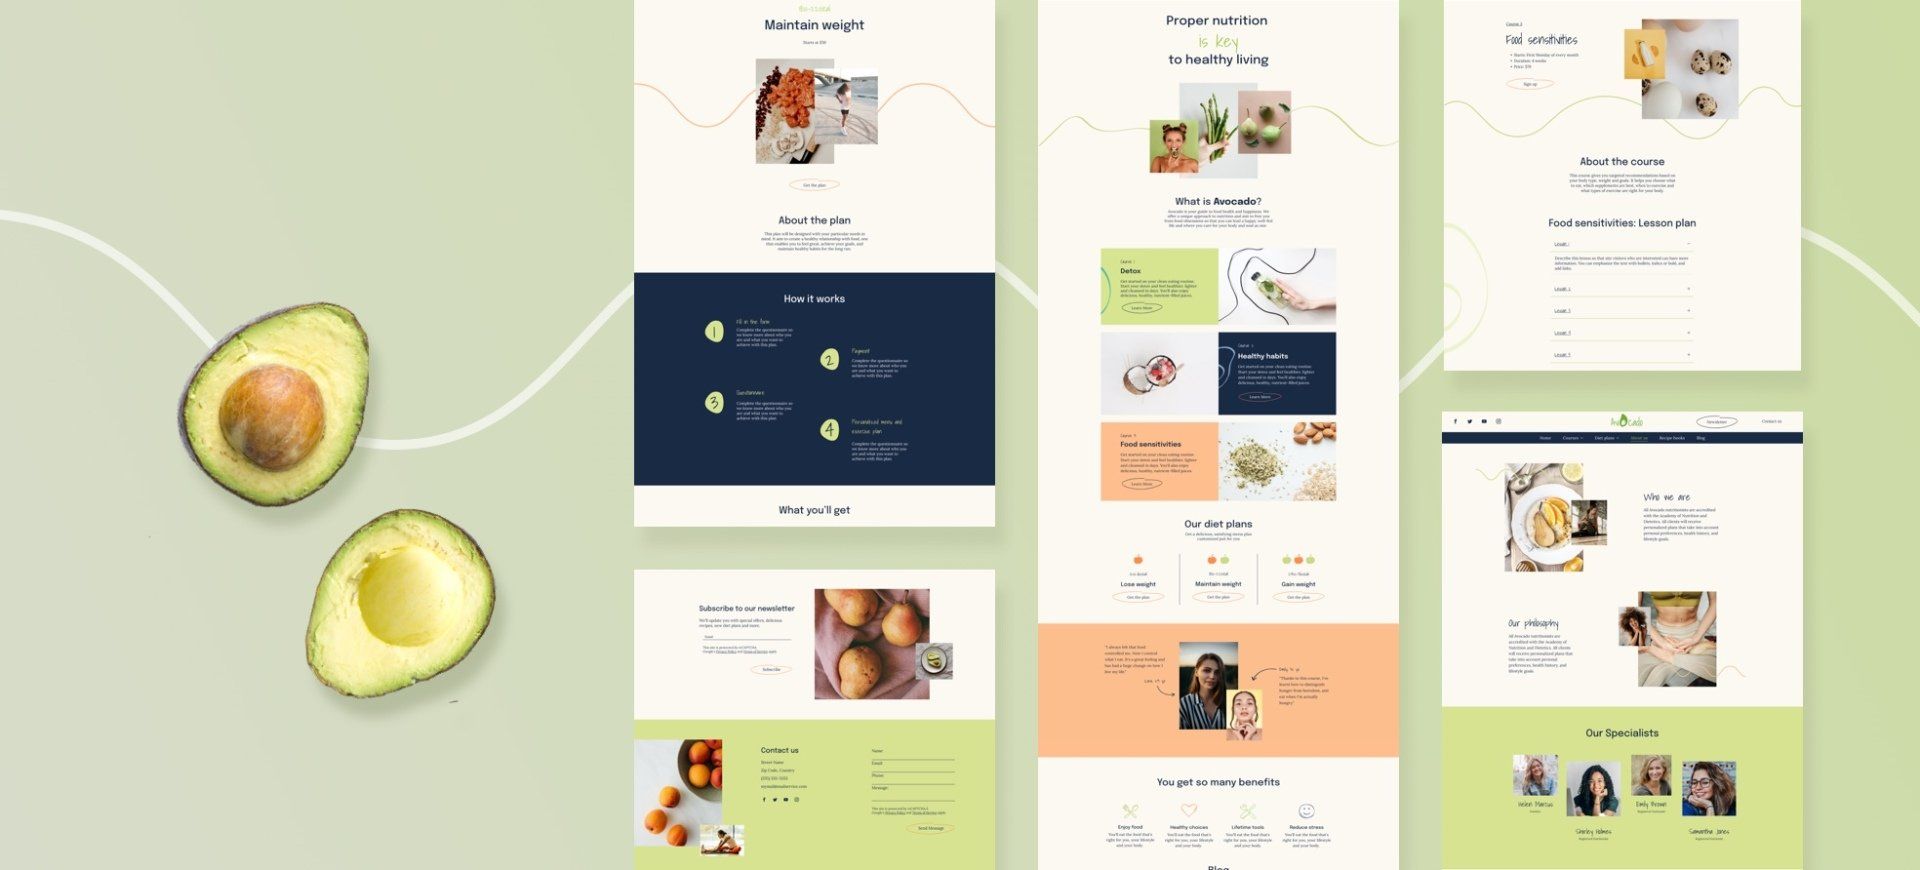
The template has earthy, natural colors and plenty of feel-good images that you can replace with images that reflect your customers’ own style and tone.
New blog designs
The blog element in this template features new blog designs, with varied use of images, text callouts and more. Be sure to take a look for inspiration for your own blogs.
Super template for getting started with Dynamic Pages
If your client has lots of services to offer, you may well want to use Dynamic Pages to store the content for each of these services. This enables you to set the design once and use it over and over again for multiple services, storing all of the content in a single database. For more on Dynamic Pages, see this.
With great testimonials comes great trust
Don’t underestimate the power of testimonials. They can bolster your customer’s reputation by expressing trust and authenticity. They are a great way of showing diverse perspectives on a product, and are increasingly important as more people seek services online. Encourage your clients to gather testimonials from their customers; it’s a great investment!
A small but powerful eCommerce addition
With so many stores closing their brick-and-mortar shops these days, having an eCommerce element on your site is a really important way to generate revenue. Depending on your clients’ offerings, you may want to include:
Professional books- Nutritional supplements
- Exercise accessories
- Natural beauty products
- Organic foods
How to Reproduce the Button on your Own
As always, you can save any part of this template as a Section and then use it again in other websites. Watch the video immediately below to see how to recreate the button. Below that, see a video on recreating the first section.
- Open the button design editor, click Layout, and choose the option in the bottom right corner.
- Align the text center.
- Set the button width to 270px and height to 65px.
- Add a background image (in this case, it’s a hand-drawn circle) and set the position to Full image and Center.
- Add text to the button.
How to Reproduce the First Section
Watch this video to see how to build the first section on your own, or follow the step-by-step instructions immediately below the video
Row 1
- Add a row below the header. Set the top padding to 80px and the bottom padding to 0px.
- Add a text widget, add your text, and set the font to Epilogue. Center the text and set the style to Heading 1.
- Select words you want to highlight and set their font to Shadow into light. Set the color to #a2cc4c
Row 2
- Add another row below this one. Set the top padding to 100px and the bottom padding to 0px.
- Add a background image with a wavy line. Set its position to Full image and Center.
- Add 2 columns to the row, so it has a total of 3 columns.
In column 1
Leave this column as it is. (This column keeps all images centered.)
In column 2
- Add a background image and set the position to Cover and Center.
- Set the top padding to 200px and the bottom padding to 30px.
- Add an image widget and set its width to 250px.
- Align the image to the left and then set the left margin to -120px so it overlaps the first column.
In column 3
- Add an image widget and set its width to 270px.
- Align widget the left, set the top margin to 50 px and the left margin to -100px so it overlaps the middle column.
Adjusting for Mobile
Move to the mobile view and adjust as follows.
Set the top image width to 140px.- In the top column, select the background image, set it to Full image and set the position to Center.
- In the row, select the background image and set it to Full image and set the position to Center.
- In the empty row above the image, add a spacer widget.
- In the second image, set the width to 100px.
- Go back to the top image. Align it to the left, set the top margin to 180px and the bottom margin to -20px.
- Go back to the second image and align it right. Set the top margin to -300px and the left margin to 200 px.
LATEST POSTS